How to Ferment Chicken Feed
FYI: I wrote a similar article for Fang! Pet and Garden Supply. Most folks know that all my Scratch and Peck Organic Feed comes from Fang! in North Portland.
Why Do People Ferment Chicken Feed?
My hens and rooster love their feed. When the chicks were introduced to the grown-up chickens about six weeks ago, we changed from layer feed to Scratch and Peck’s organic starter feed since the chicks needed to stay on that until about eight weeks. That’s when we’ll put them on grower feed. As I’ve mentioned previously, we always have out a bowl of oyster shell and grit as supplements. But recently I also learned about fermenting chicken feed and now we’re doing this for the ladies! Many farmers do this as part of their daily routine so there is no reason a chicken keeper with a small flock cannot do this!
This is SO EASY. Scratch and Peck sent me a chicken feed fermenting kit to use which helped a bunch.
And I messed up the first try.
Note for everyone: sprouting is not fermenting. You can sprout whole grains but this post is about fermenting feed. I didn’t know the difference and I actually started “fermenting” grains and then had to start over again. Oops!
I also mention this in my article on the Fang! Pet and Garden Supply blog post because it is SO important that folks understand this. To reinforce this point – here are two images!
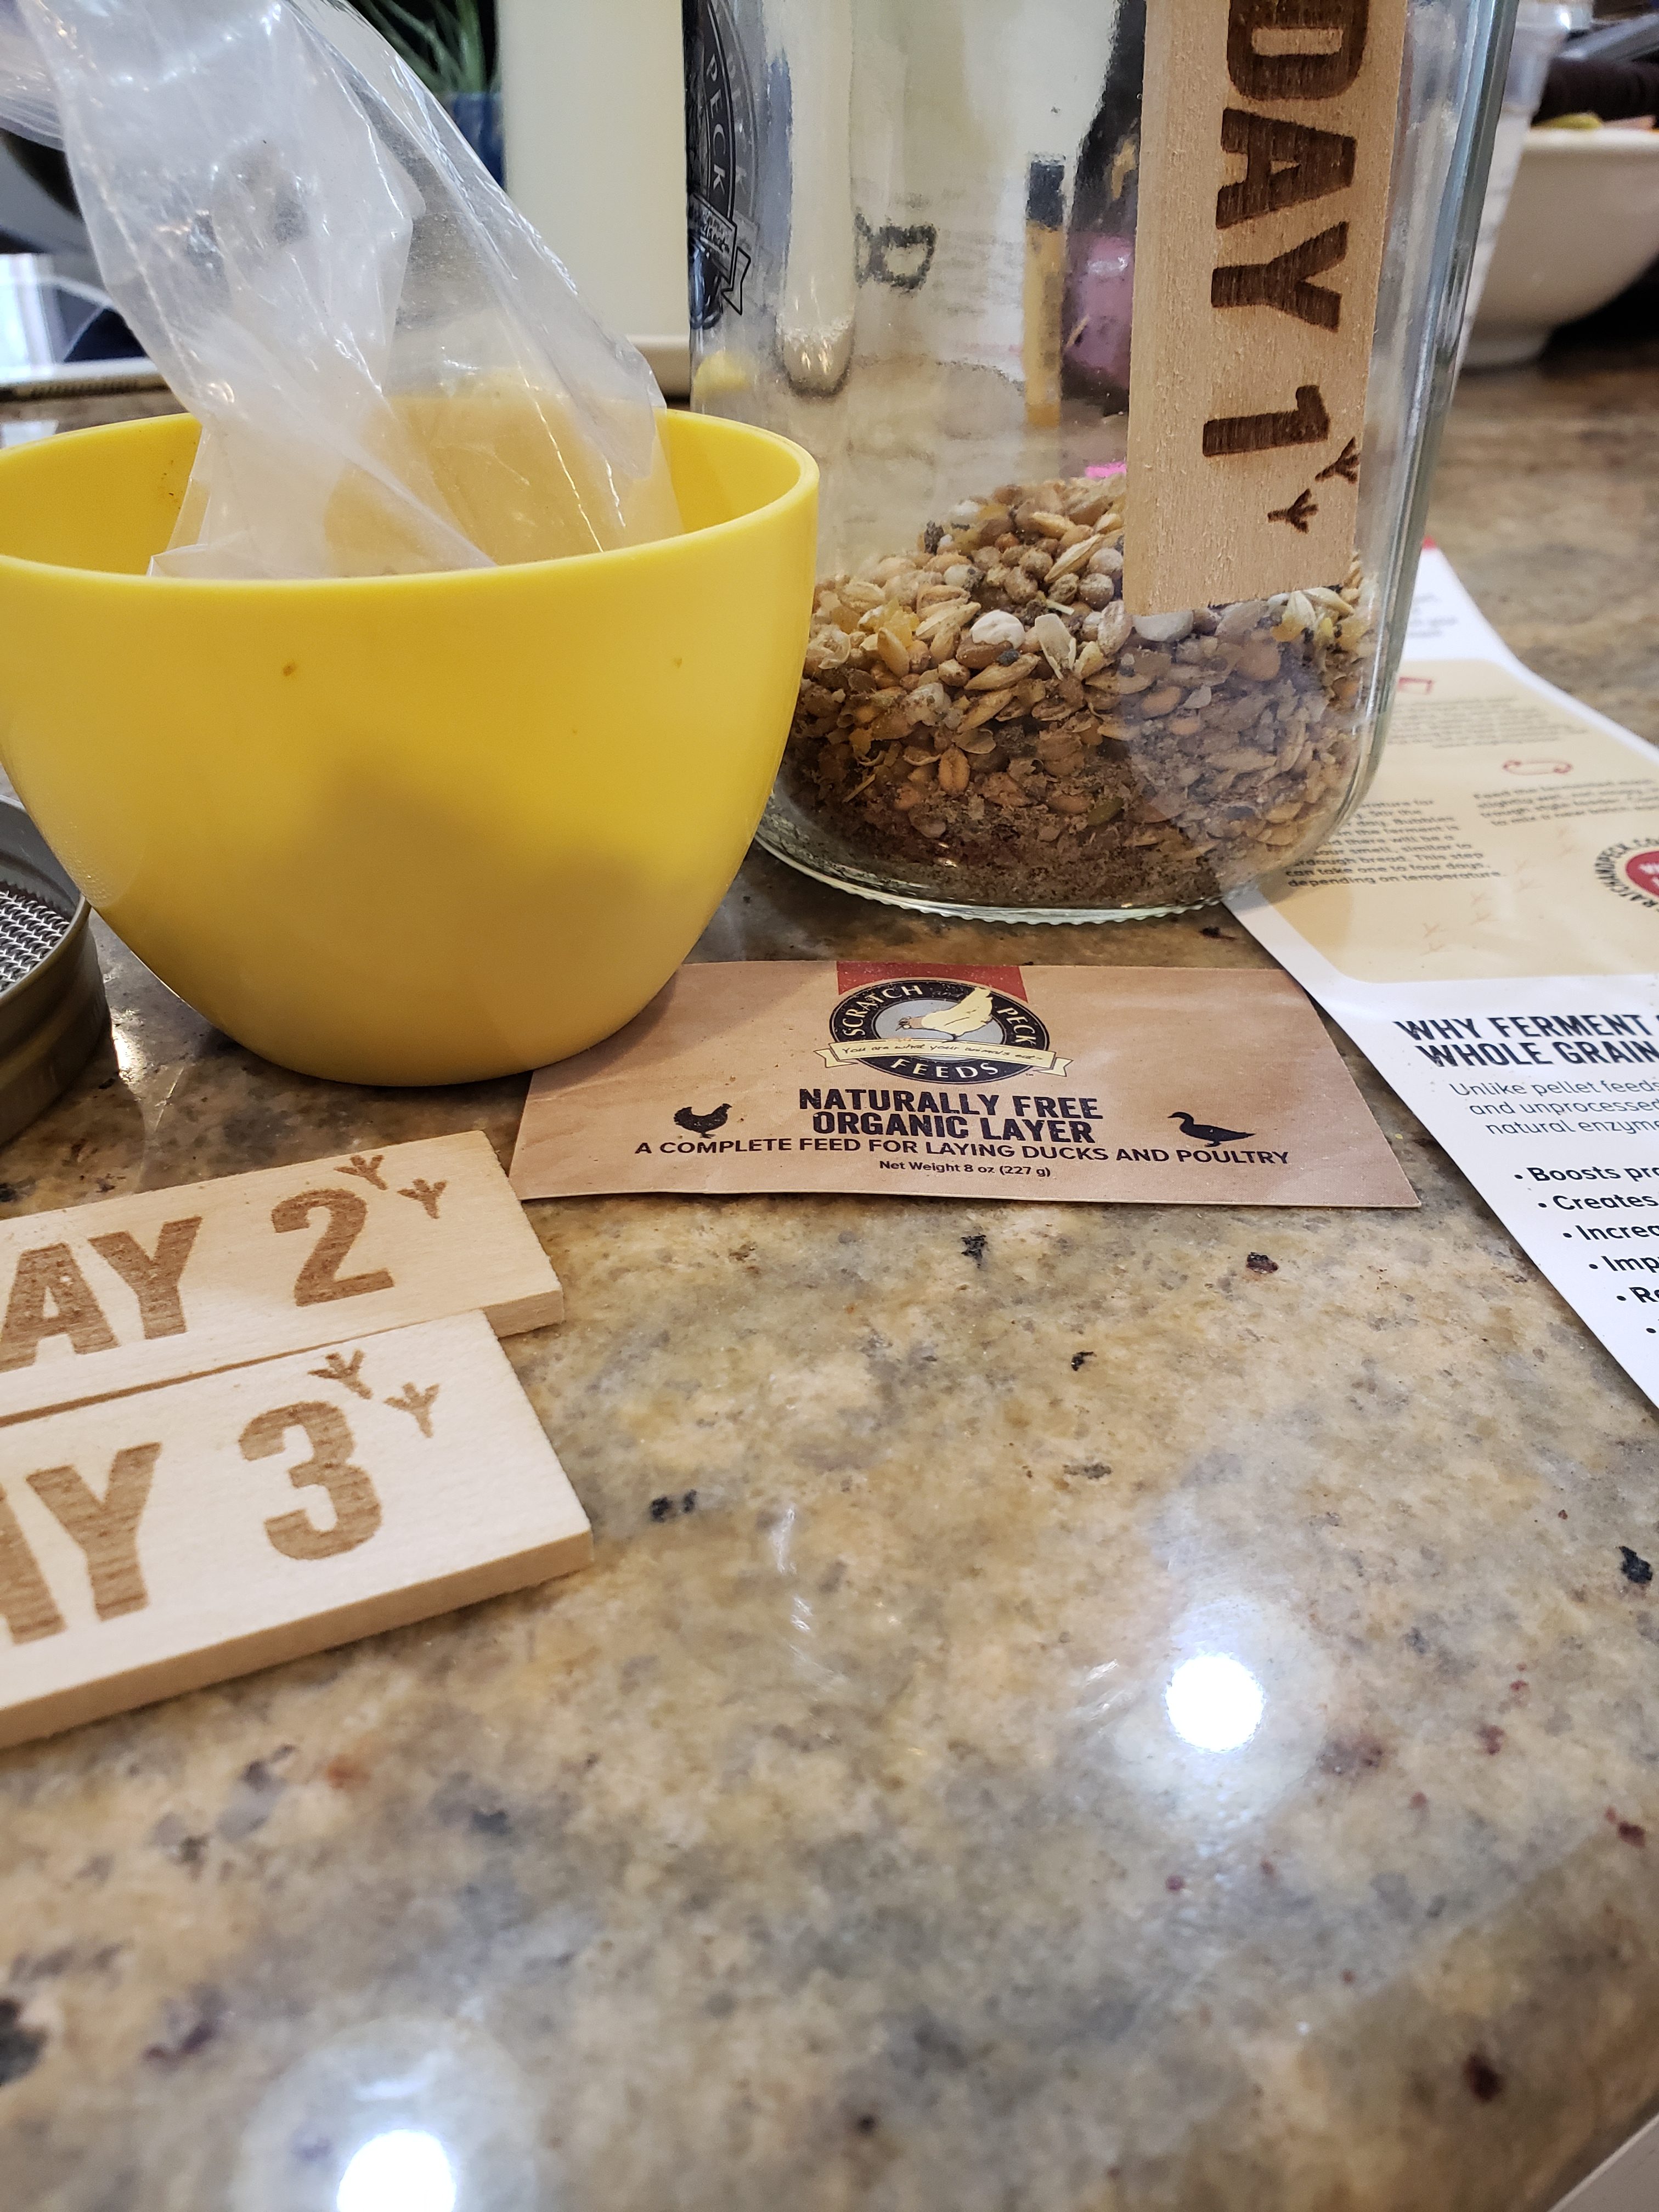
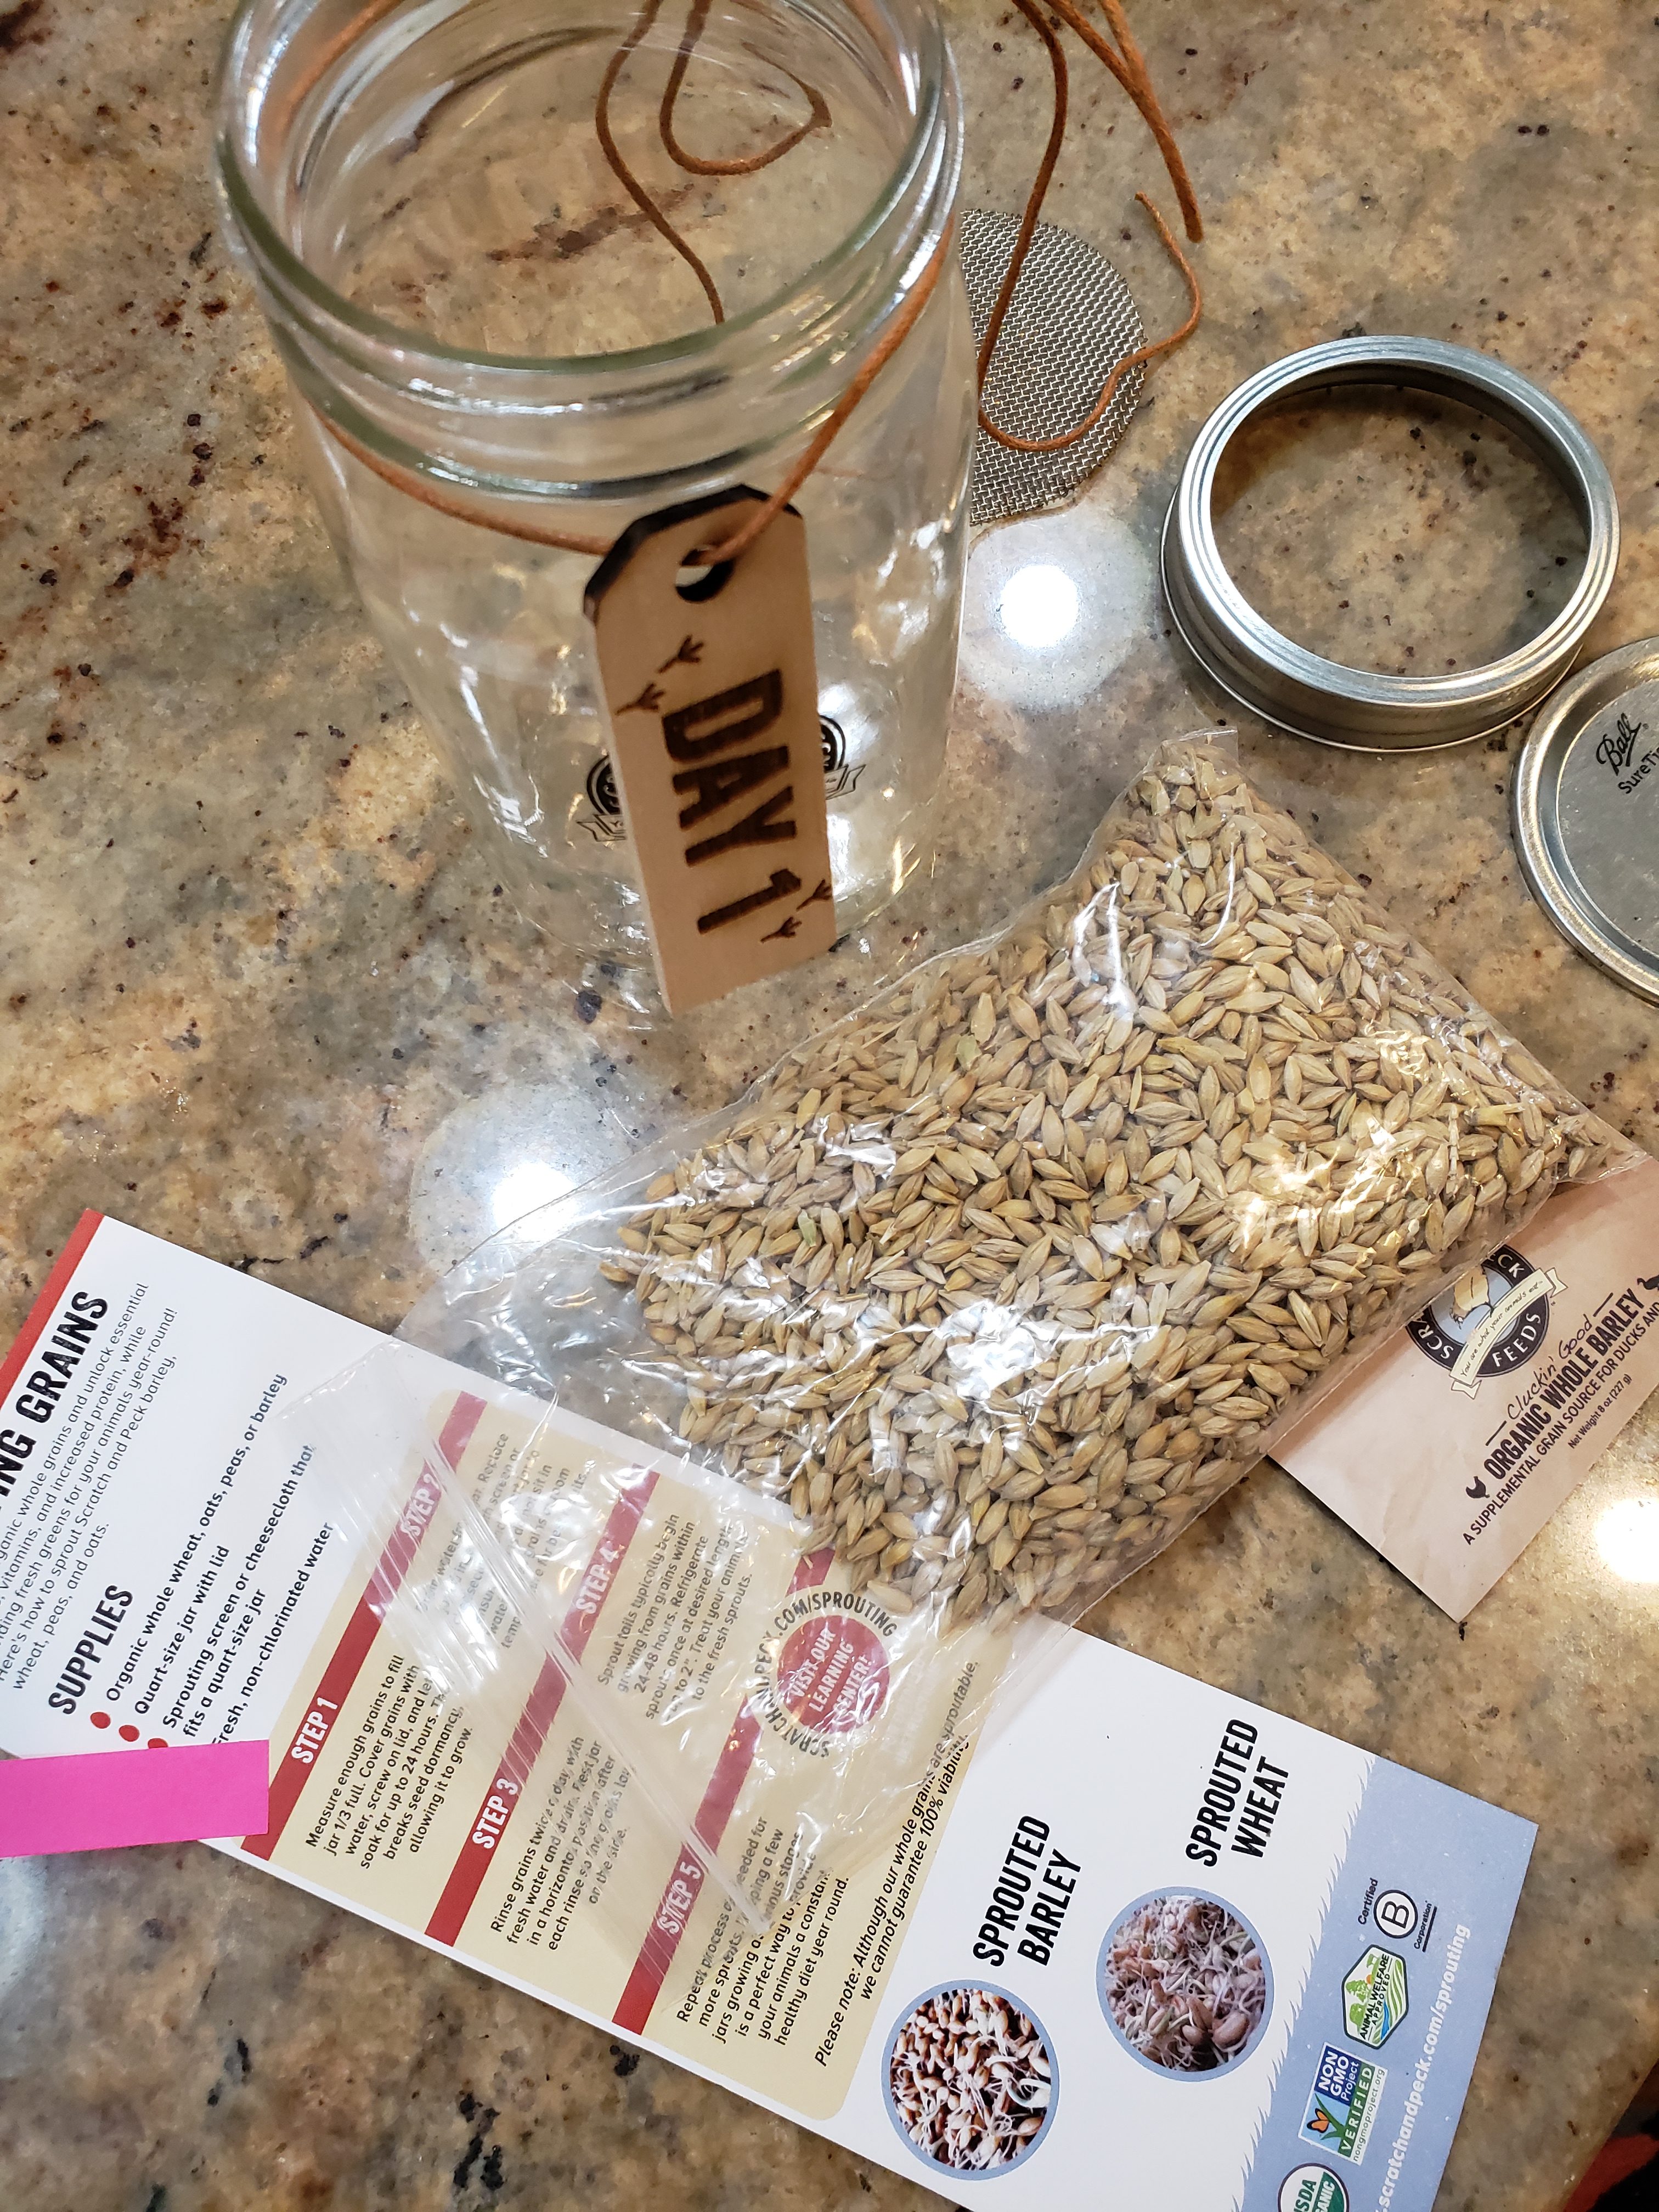
Top: Layer feed – correct! bottom: Oops! This is barley and I was confused.
Why Ferment?
Fermenting chicken feed make nutrients more readily available in, feed requirements lessen, and there is also less waste since the chickens love it.
The nutritional benefits of fermenting chicken feed are great:
- It increases beneficial bacteria in their guts
- It also decreases pathogens in your hens’ digestive systems
- Makes protein more available
- Requires less feed per serving (one of my fave reasons)
- Decreases coop odor (yes!)
- Increases water intake as water is consumed with the feed
- Improves digestibility of feed and nutrient absorption
How Do You Ferment?
(I’ve included the daily steps below)
First, you submerge the feed under water for 24-48 hours. This can be done in a bucket. Expert Maat Van Uitert wrote a great book, “Naturally Raising A Sustainable Flock” which is my go-to guide for chicken advice.
There is a section on fermenting chicken feed that talks a little about the process. “It’s very, very important to make sure the feed remains under water, which creates the environment that allows the good bacteria to grow,” explains Maat. She likes to leave an inch or two of water above the feed as it ferments.
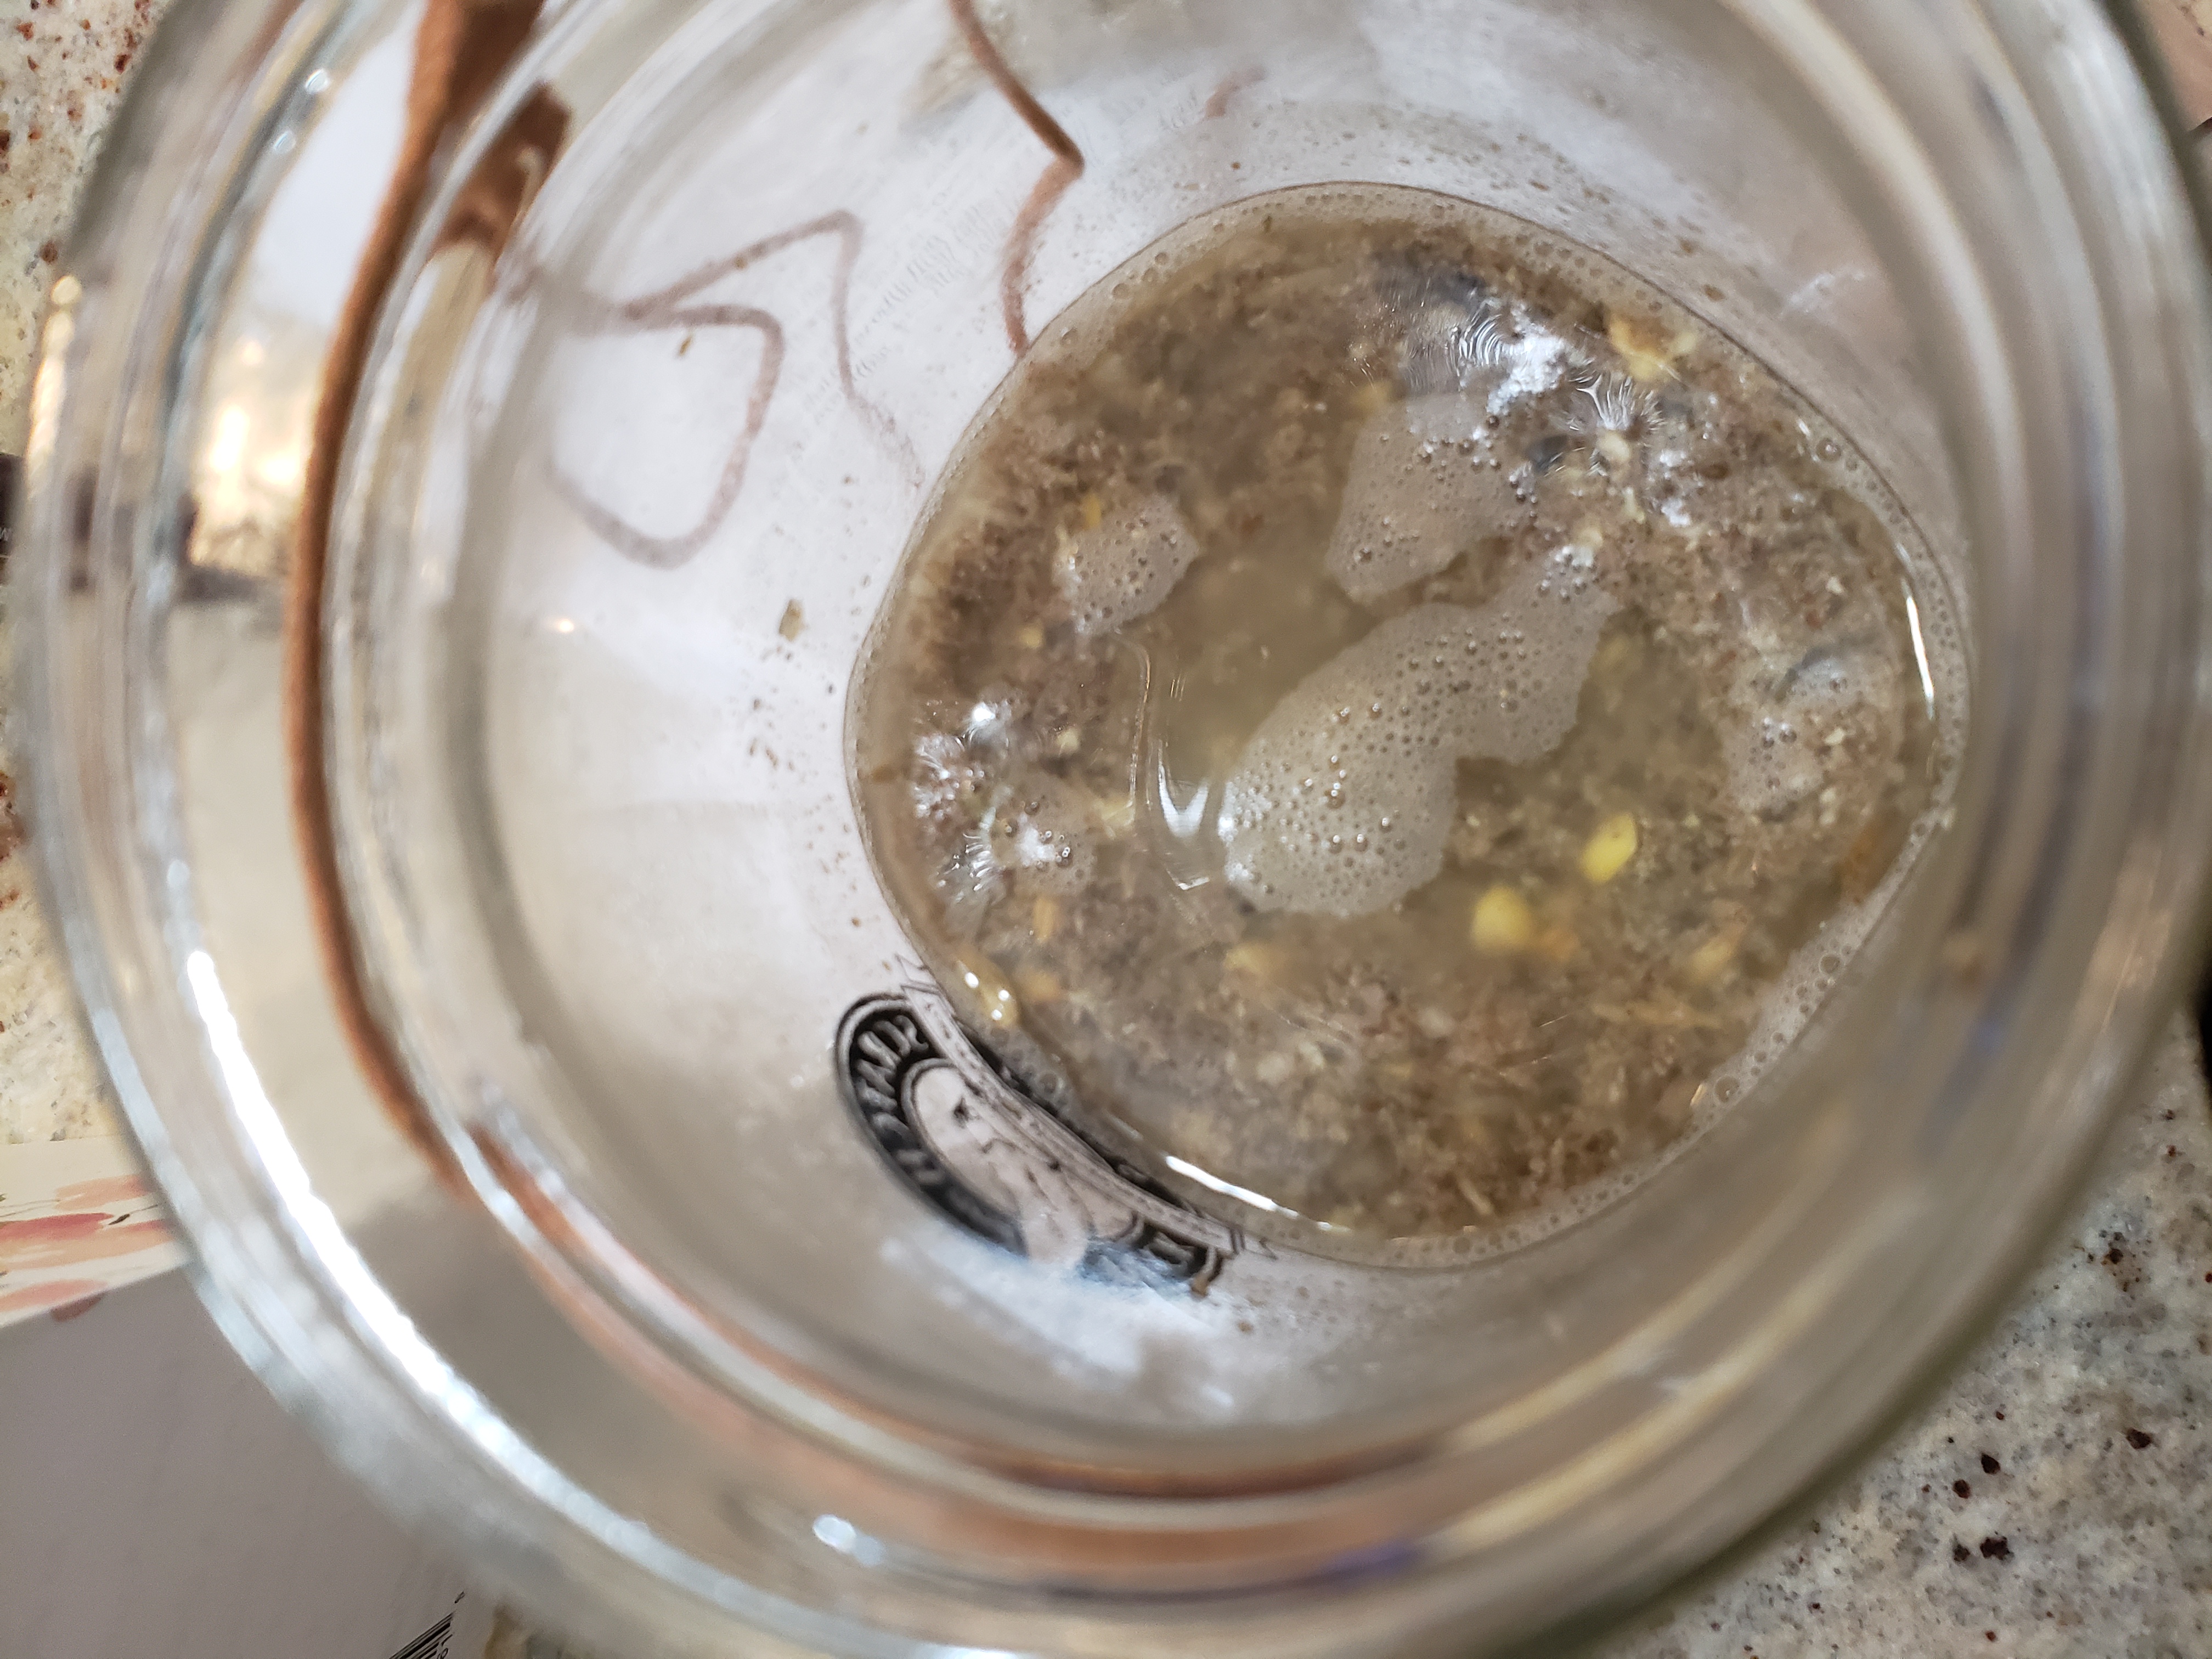
Note: If it looks moldy at all toss it. But it should smell like sourdough bread! By day two my mason jar absolutely smelled this way and I knew we were getting close (see below).
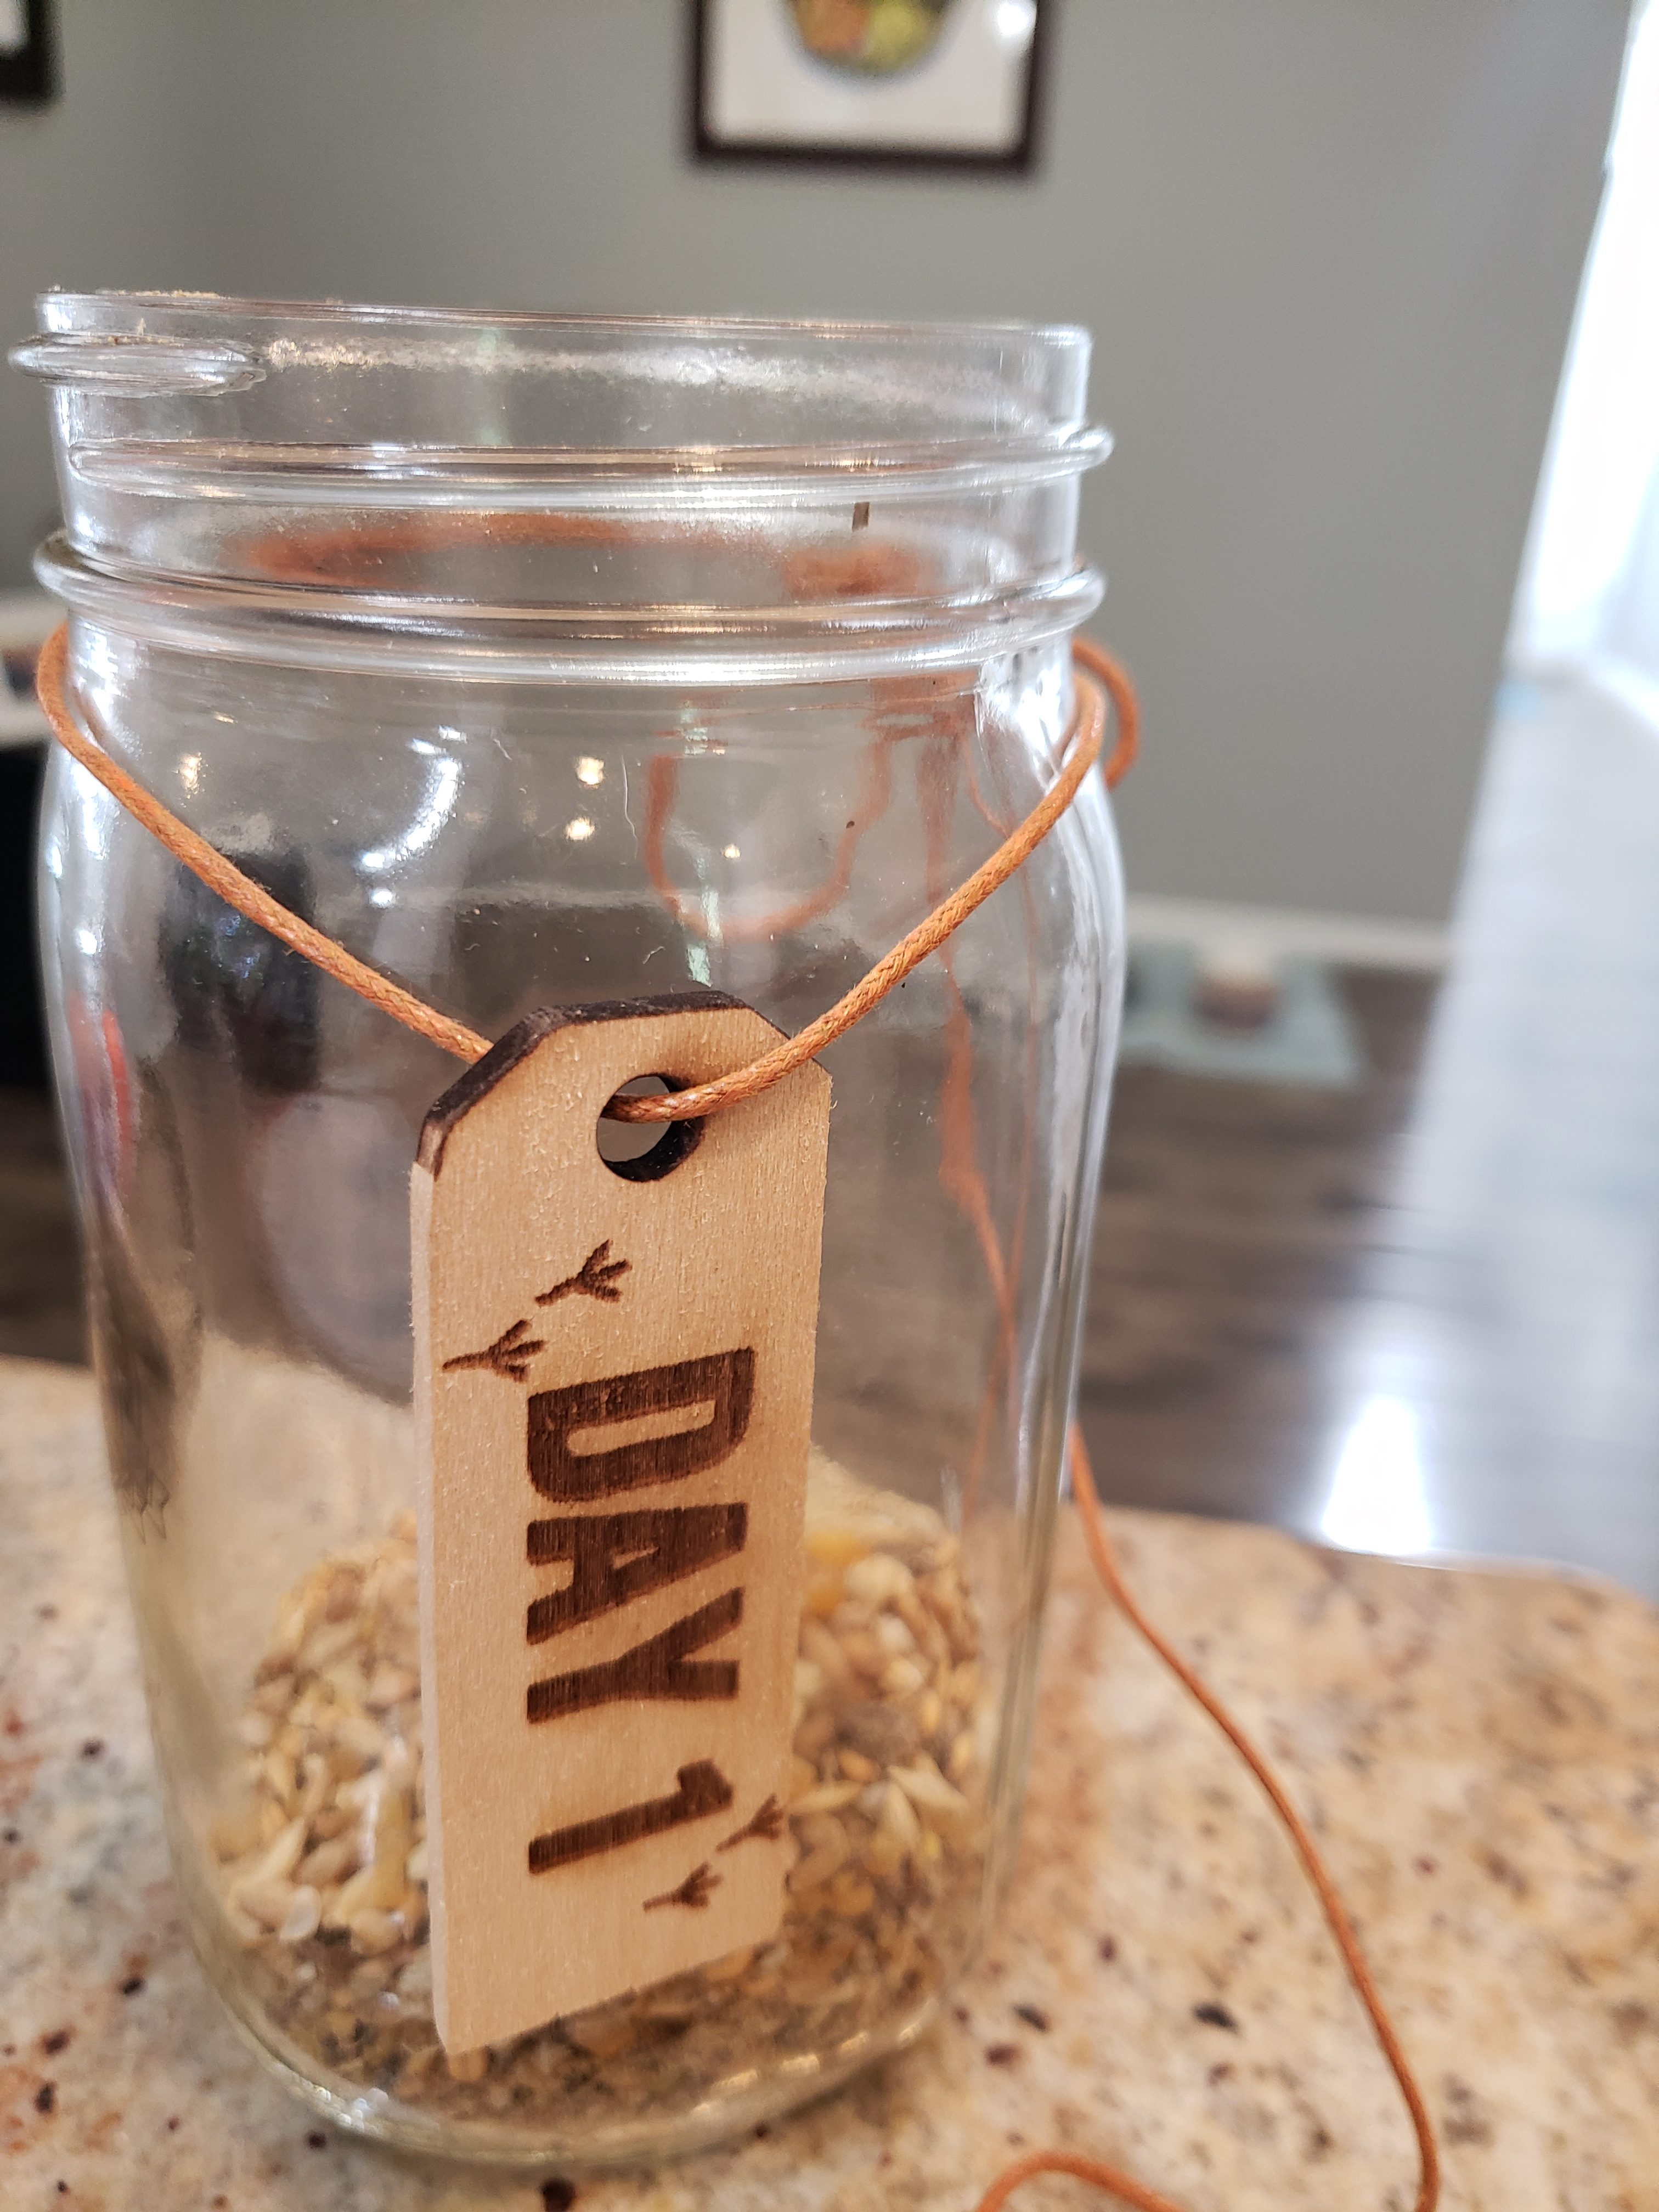
Day One:
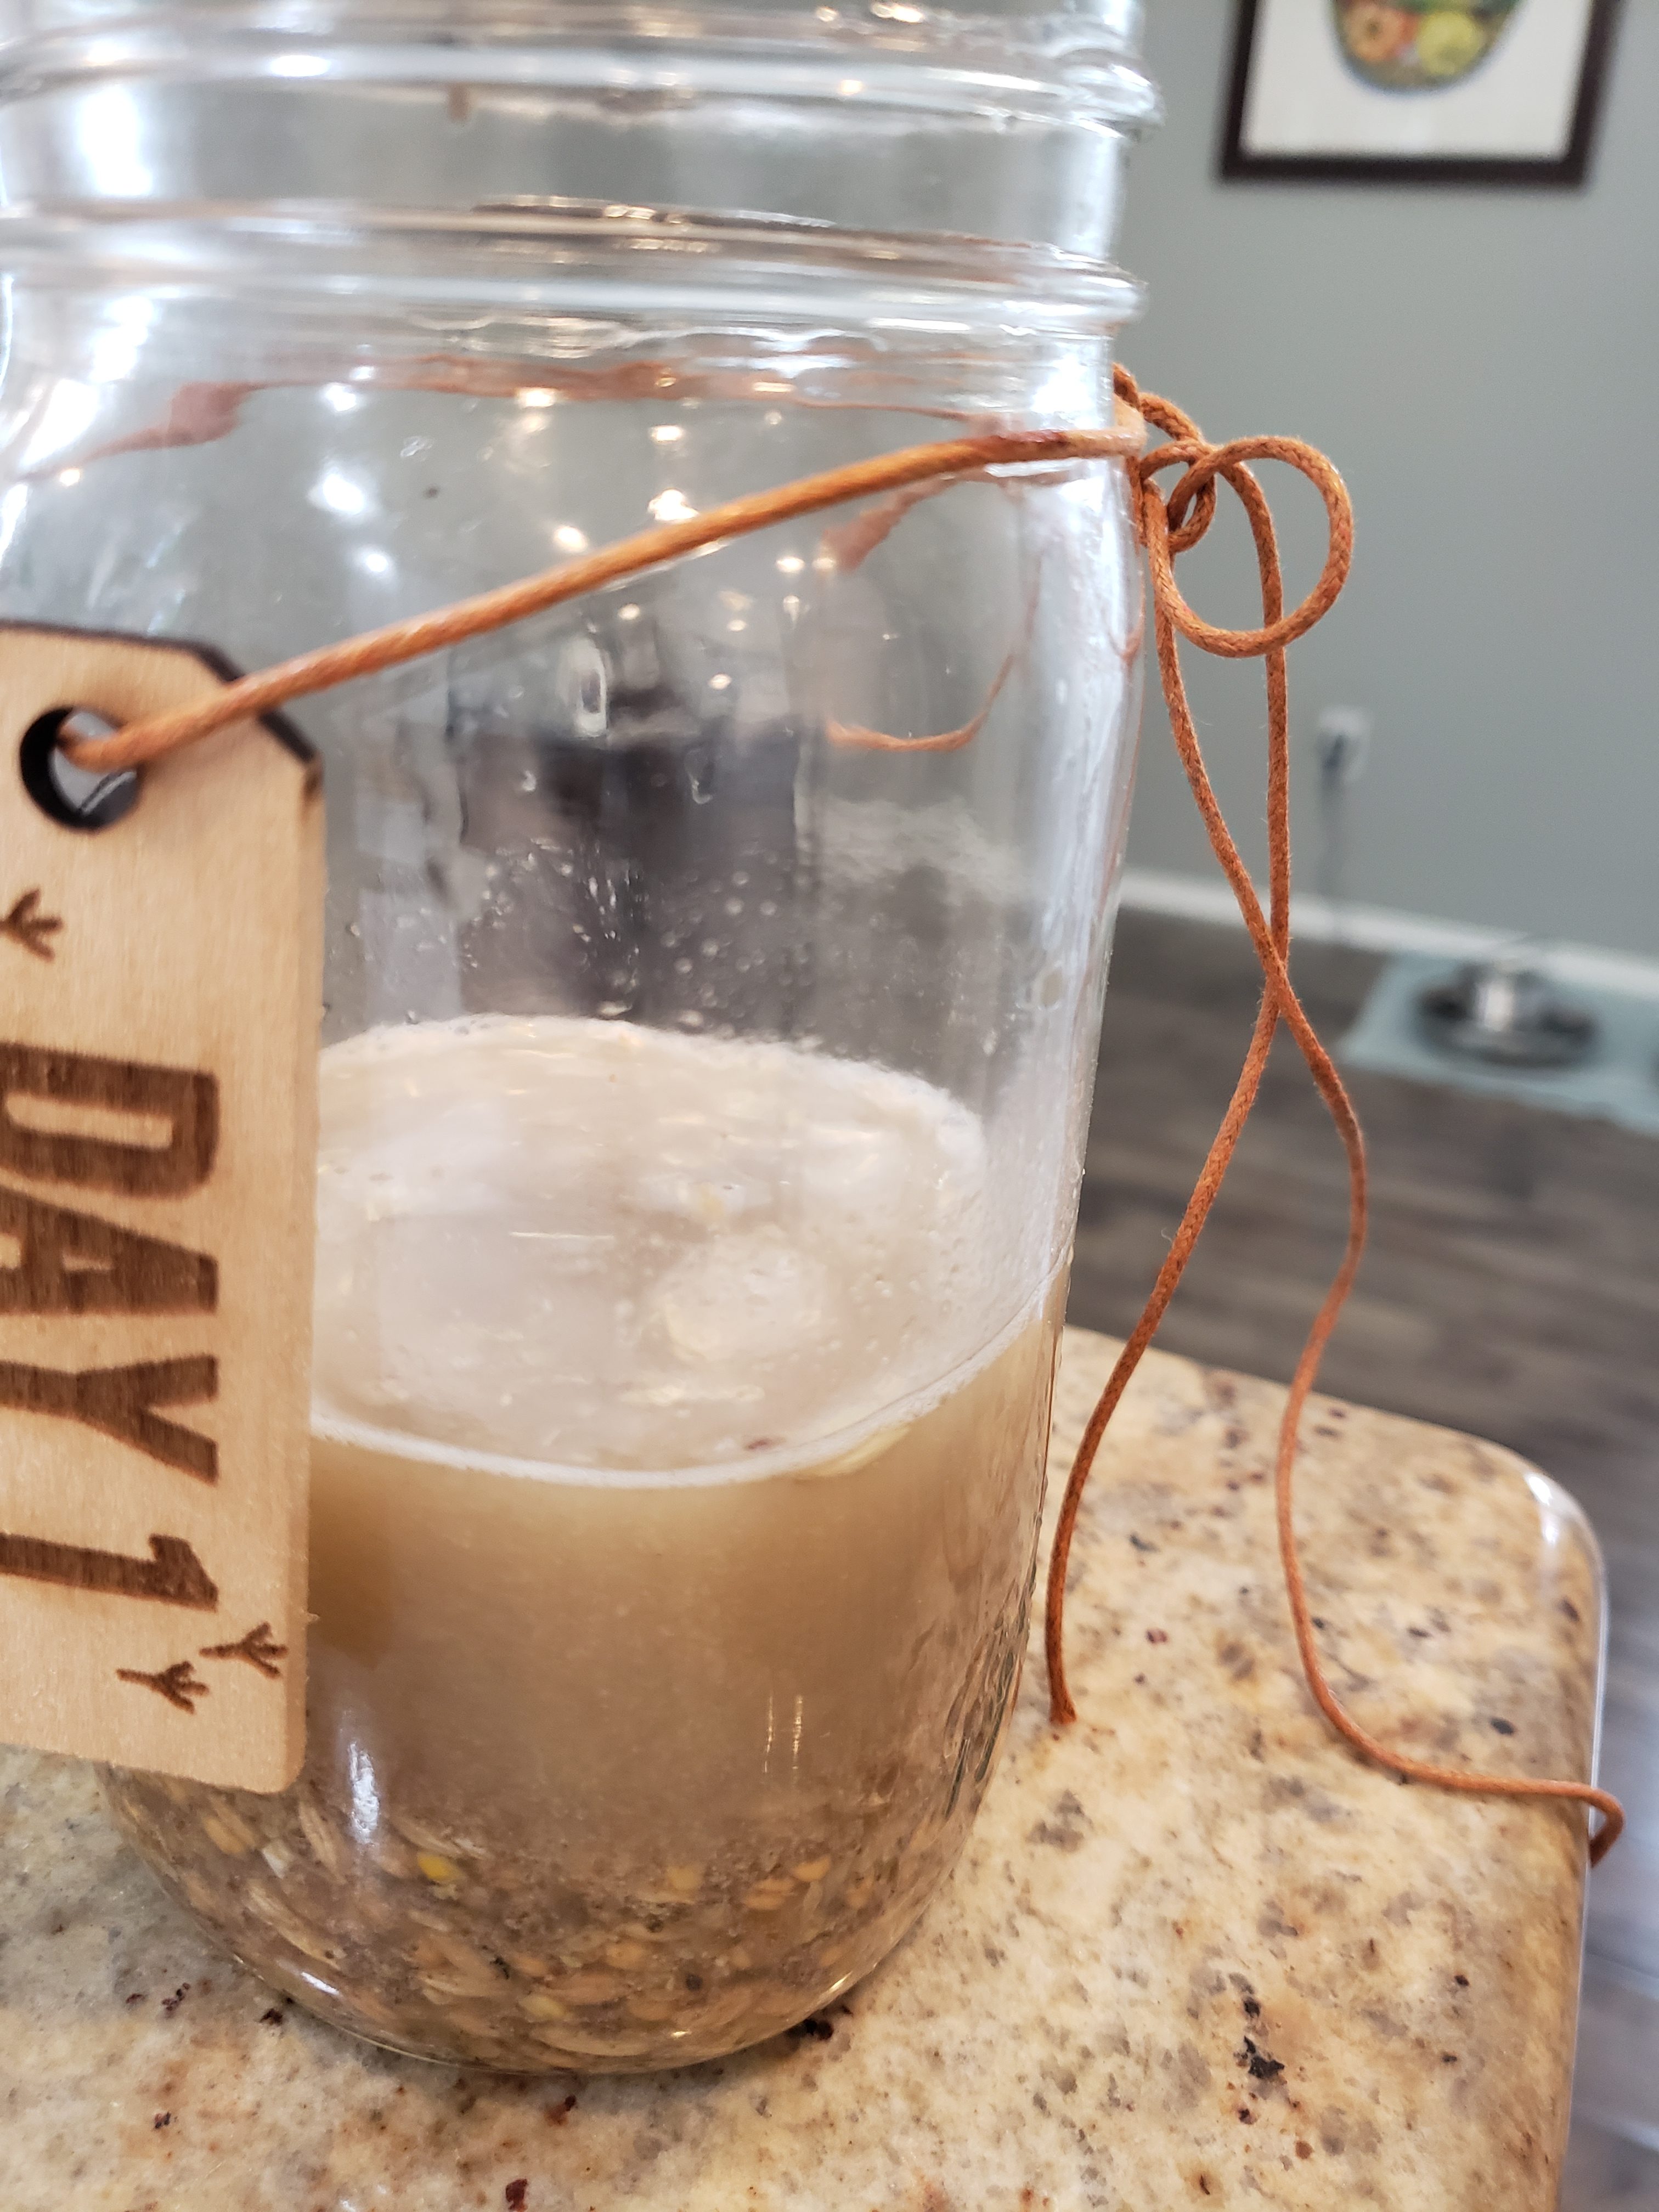
Place feed in a clean container (see my mason jar in the pics) with a loose-fitting lid. The size of the container will depend on the size of your flock. For a flock of just a few birds, a 32 oz mason jar will suffice. A 5-gallon bucket works for larger flocks. Start small, though, and work your way up if needed.. Leave room in the container for the fermented chicken feed to expand. Pour non-chlorinated water over the feed and mix. (we have a well so our water doesn’t have chlorine in it but if your water does follow these tips).
I tried two parts water to one part feed. And just like Maat says in her book – make sure the water is covering the feed completely.
Let sit at room temperature at least a day. And stir it once a day. Bubbles will start to form when the ferment is ready and there will be a slightly sour smell. Pea soup is the consistency you’re looking for.
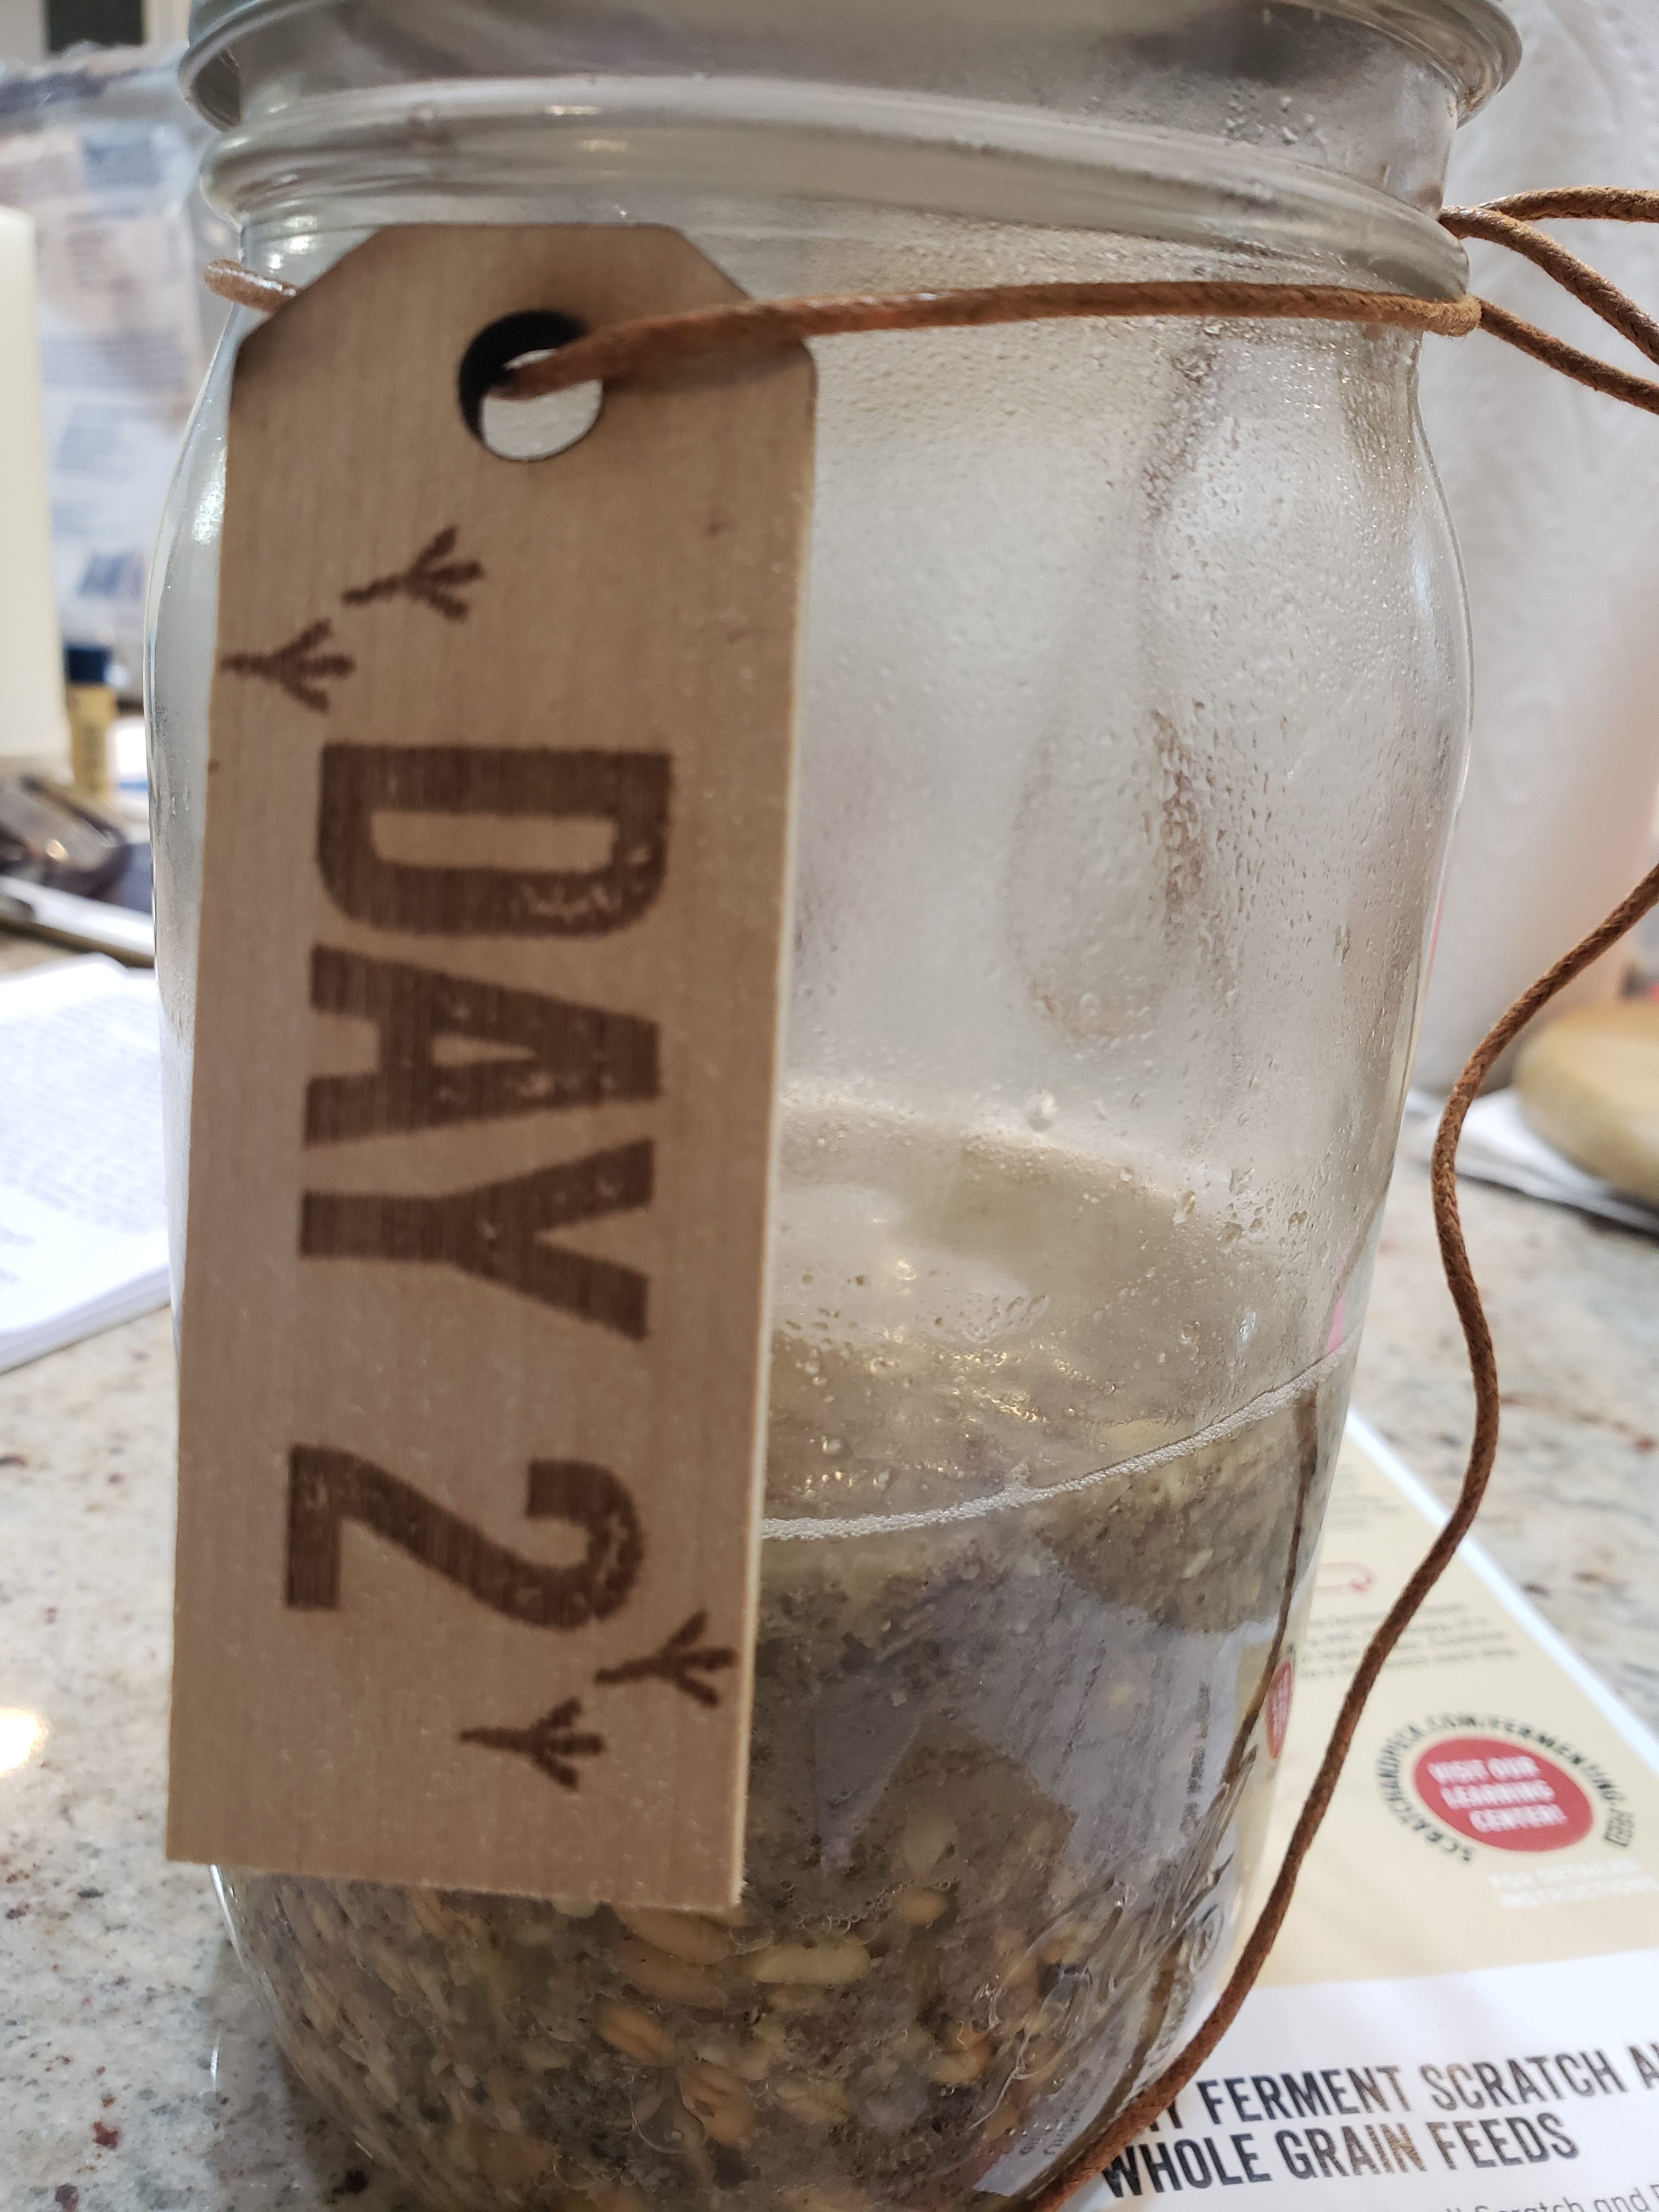
Day Two:
You can see that it’s starting to bubble on day two. Keep watching as this process can take up to 4 days depending on the temperature.
Day Three:
How does it smell? Make sure to mix it once more on day three. Do you have mash that’s ready to feed your hens?
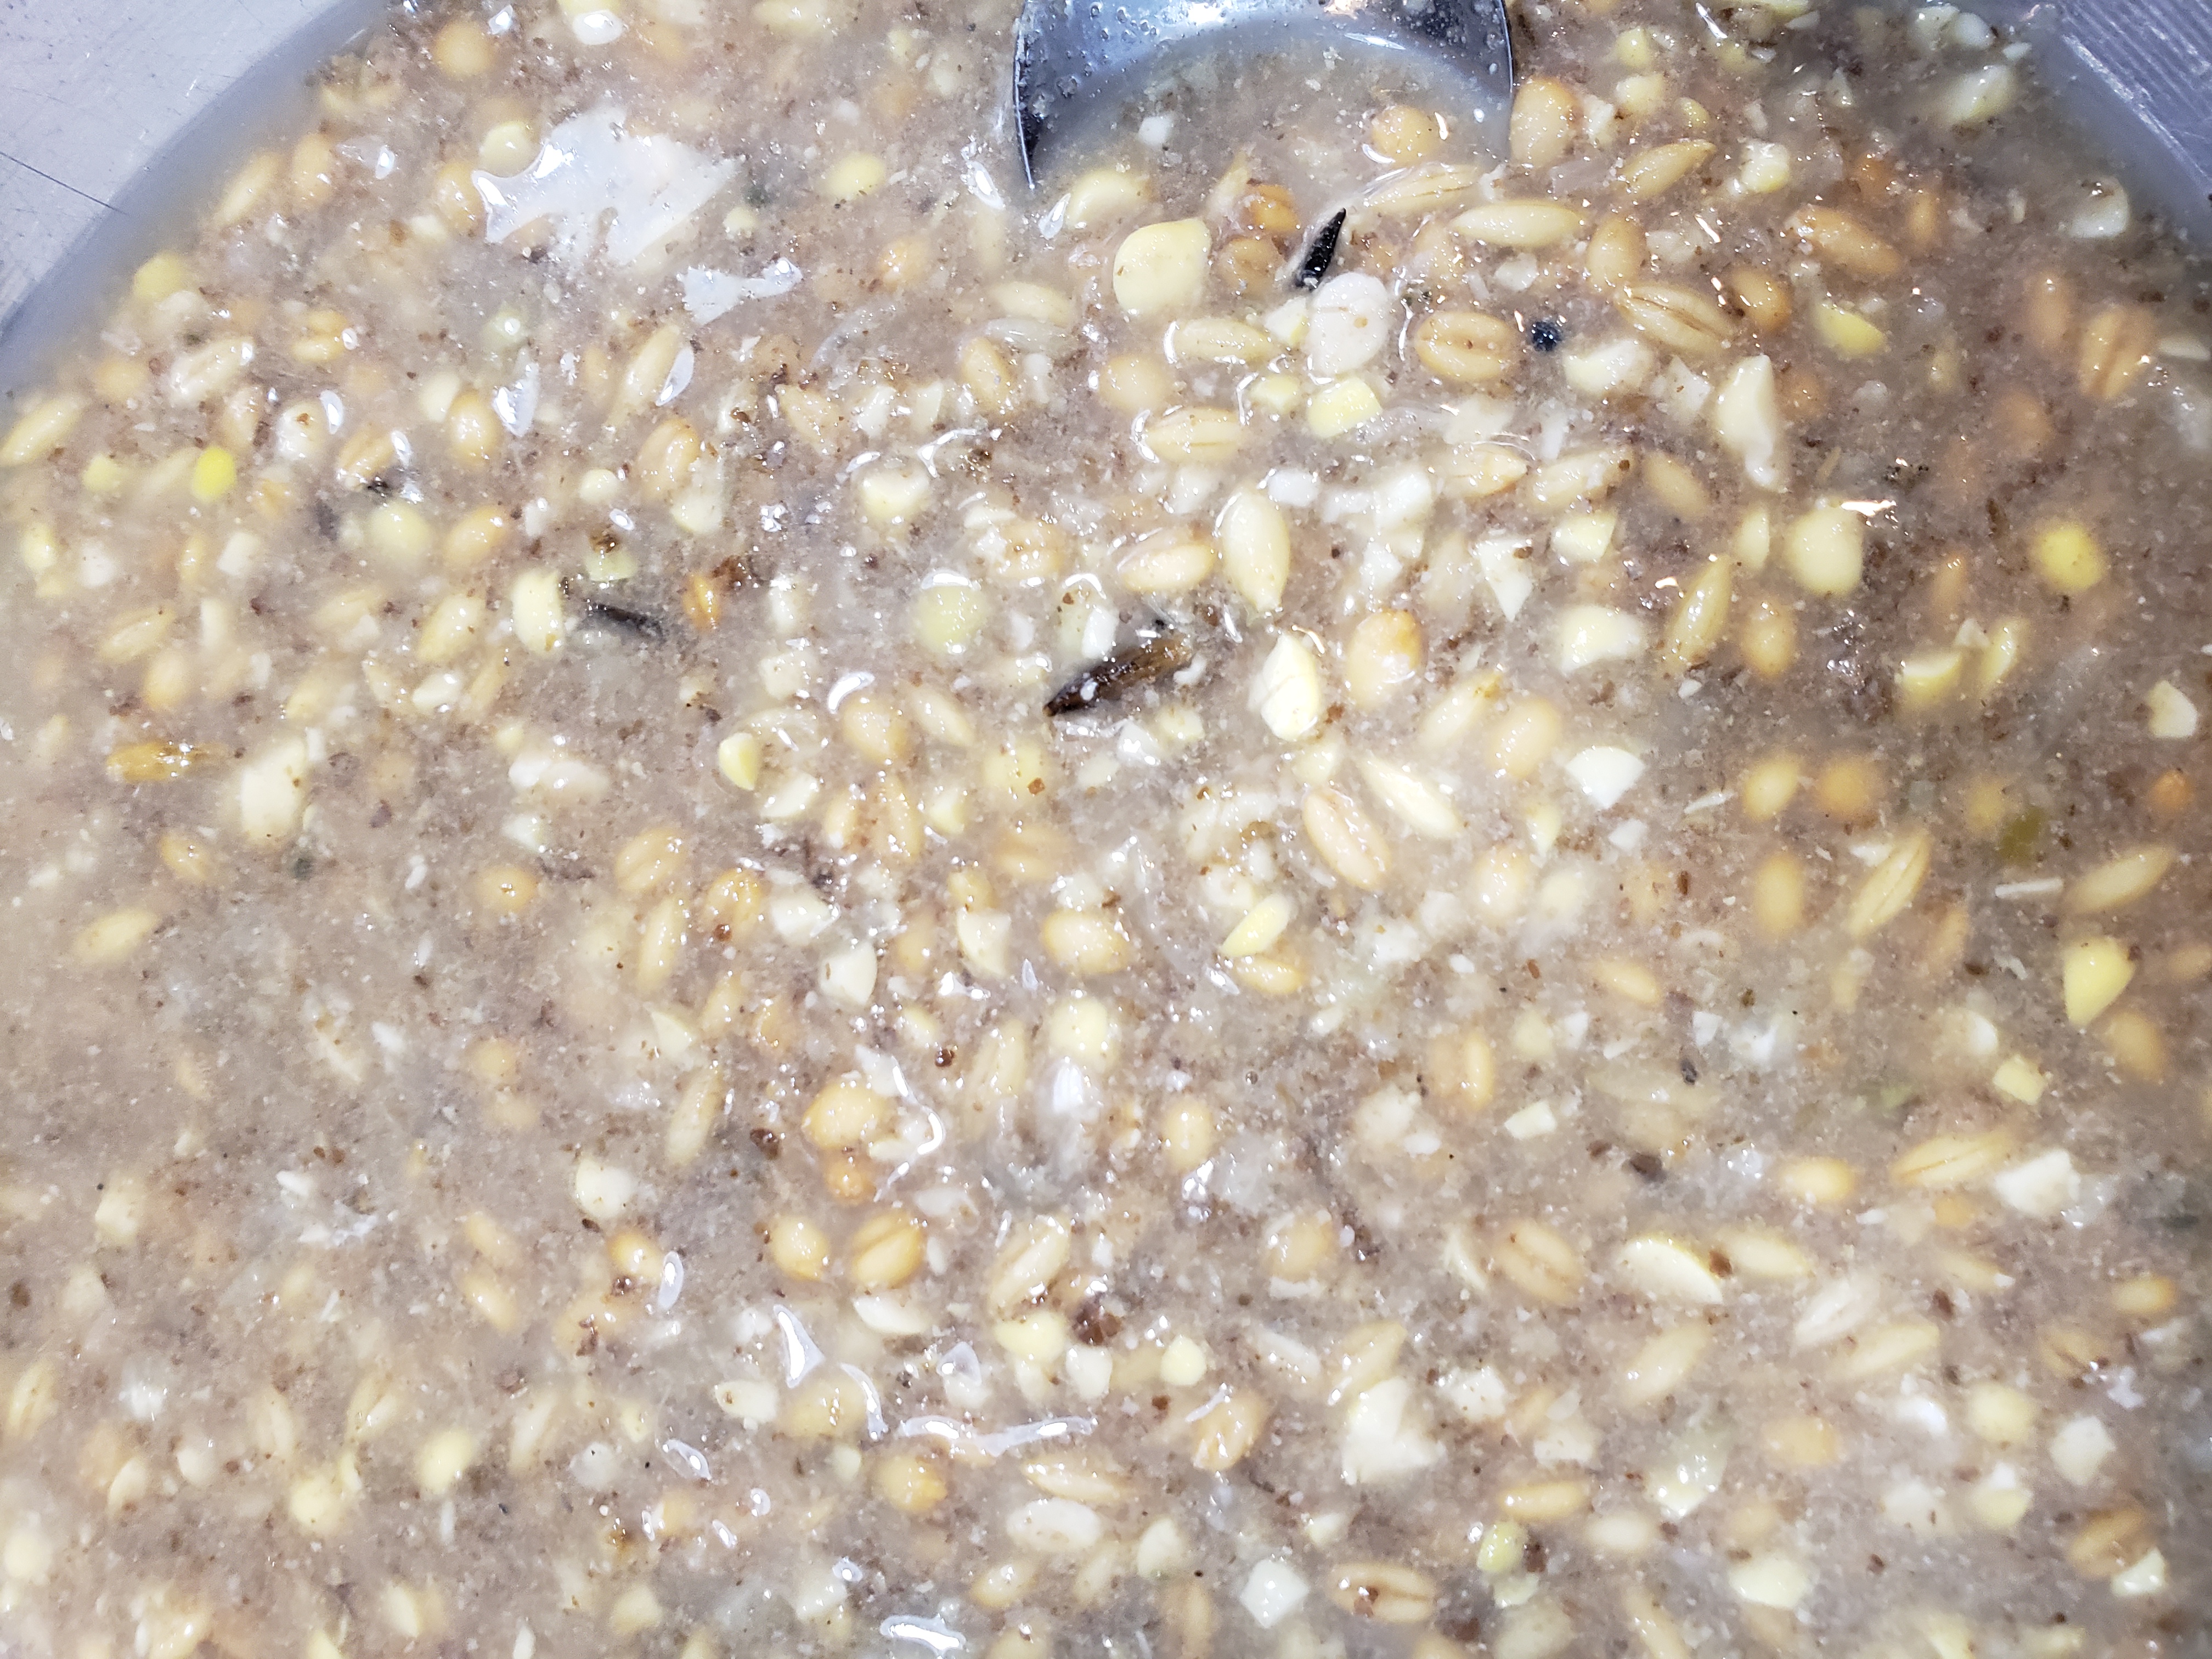
Day Four:
We’re eating! *note that the mash should be slightly wet and not soupy, so I drained some of the liquid when mixing a new batch! Remember – pea soup!
Pin me!

Good luck!


It’s now pinned to my Farm Life page! I have heard of fermenting but never knew why or how to do it. So do you keep doing it over and over – does it have to be fed immediately after fermenting it? Do you need to take it away if they don’t eat it all immediately (not that I can imagine mine wouldn’t)?
Thank you so much for pinning this! It is so easy – can I give you my contact at Scratch and Peck so you can get a kit sent your way? They ate it right away but I left it out all day before I went back down to pick it up! You basically keep doing it over and over again… I think once it’s “ready” and has that yeasty smell you feel it to them or it gets moldy I’m pretty sure. And I would pick it up maybe at the end of the day JUST in case –our temps were kind of warm and I thought for sure things would turn gross if I waited. it’s awesome – and I’m doing it once a week now!!
I would love it if you gave me that contact info, thank you! I definitely want to try this. Last winter when it was really cold, I made warm oatmeal for the birds. I could not believe how fast they ate that up! I can imagine they’d really like the fermented food too. They pretty much go nuts for any special treats. 🙂
Hi Jan,
It is best to not let the ferment sit if your flock doesn’t eat it all the day you put it in their feeder. It can start to smell or mold, neither of which is appetizing!